Before the Radiators Come On: A Quick Desktop Cooling Health Check
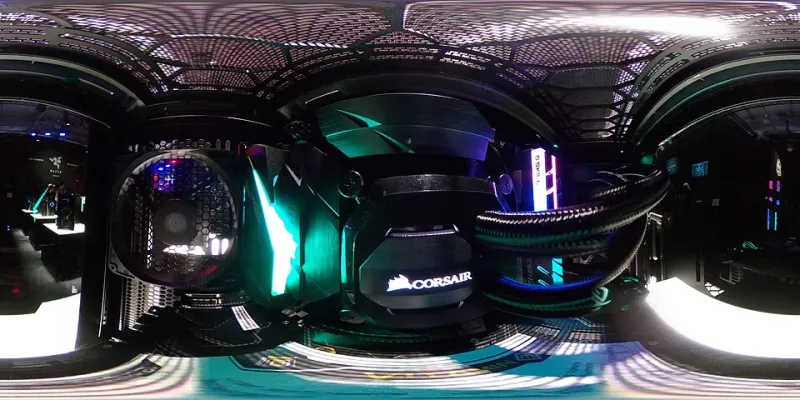
Photo: Maximilian Schönherr, CC BY-SA 4.0, via Wikimedia Commons
Winter is supposed to be the easy season for a desktop. The room is cold, the graphics card has spare headroom, and nobody is sweating over a game at 11pm. Except that is not quite how it works in a British home. Once the radiators come on and the windows stay shut, all the dust, lint and pet hair that drifted through the summer has nowhere to go. It settles in the front mesh, wraps itself around fan blades and forms a polite grey blanket over the heatsink. Your PC does not need to be filthy to run hotter than it should. It just needs to be quietly overlooked.
That is why a 20-minute check now is worth more than a panic clean in January. You are not rebuilding the machine. You are giving the cooling system a once-over before it has to work through months of closed-window air.
Why winter is harder on your PC than summer
A cold room does not automatically mean a cool PC. Heat output is one part of the story; airflow is the other. In winter, many of us shut windows, close doors and run the heating for longer. Rooms get stuffier, dust circulates more, and pets spend more time indoors. If your desktop sits on a carpet or in a cupboard, it is effectively breathing the same trapped air all day.
The result is usually not a dramatic failure. It is a slow drift: fan speeds creep up, idle temperatures rise by a few degrees, and the machine becomes noisier under load. By the time you notice, the cooler has been fighting a losing battle for weeks.
The 20-minute kit, ideally under £20
You do not need a workshop full of specialist gear. A sensible kit looks like this:
- A soft brush, such as a clean paintbrush or an anti-static brush. A couple of pounds from a hardware shop is fine.
- A microfibre cloth for casing and external vents.
- A can of compressed air duster, used in short bursts. Keep the can upright and work outside or near an open window.
- A small torch or your phone light.
- Cable ties or Velcro straps if you need to tidy a stray cable.
That lot can easily come in under £20 if you already own a cloth and a torch. If you have an electric air blower, great, but it is not essential. Avoid using a household vacuum directly on the inside of a PC unless you have an anti-static vacuum attachment. The nozzle can generate static and dislodge small components.
Step one: power down and open up safely
Shut the PC down properly, switch off the power supply at the back and unplug the mains cable. Hold the power button for a few seconds to drain residual charge. Then open the side panel according to your case manual. If you are not sure how, look it up rather than forcing it; plastic clips and tempered glass panels have a habit of winning arguments.
Before you touch anything inside, touch a bare metal part of the case to discharge static. Keep one hand on the case while you work if you can. You are not performing surgery, but basic static care is still worth doing.
Step two: filters, mesh and the front intake
Start at the front. Most modern cases have a mesh panel or removable dust filter. Take it off and look through it against a light. If it looks like a felt carpet, that is your first problem. Rinse washable filters in lukewarm water, let them dry completely, and do not refit them damp. Disposable filters can be brushed or gently vacuumed with a soft brush attachment.
While the filter is off, check the intake area behind it. A surprising amount of fluff collects in the gap between the mesh and the fans. A soft brush and short bursts of air will shift it. Do this outdoors if possible, because the dust has to go somewhere and that somewhere should not be your landing.
Step three: fans and heatsink, without spinning them silly
With the PC open, use the torch to inspect the CPU cooler, GPU fans and case fans. Hold each fan blade still with a finger or a soft brush while you use the air duster. Blowing air through a free-spinning fan can overspin it and, in the worst case, damage the bearing. Short bursts are better than a long blast.
For a heatsink with tightly packed fins, a soft brush is often more useful than air alone. Work from the outside in and let the loosened dust fall away. Do not poke at the fins with anything metal. If you have a tower cooler, check the gap between the fan and the heatsink; that is a classic lint trap.
Step four: check the airflow story
The fans should be telling a simple story: cool air in at the front or bottom, warm air out at the rear or top. Check that nothing is blocking the rear exhaust, that the PC has a few centimetres of clearance behind it, and that it is not jammed against a wall or inside a closed cupboard. If you have recently added a graphics card or a drive cage, make sure you have not accidentally turned the case into a dead end.
Cable management is not just for looks. A thick bundle of cables sitting right in front of an intake fan can spoil the airflow enough to matter. A couple of cable ties can make a genuine difference.
When it is not just dust: signs of a failing cooler
Dust is the usual suspect, but not the only one. After cleaning, pay attention to these warning signs:
- Grinding, rattling or clicking from a fan or pump.
- Fan speed that surges up and down without a matching change in workload.
- Temperatures that stay high even with a clean heatsink and good airflow.
- A CPU cooler that is loose or has a cracked mounting bracket.
- A liquid cooler pump that is silent when it should be running, or noisy when the system is idle.
If you spot any of those, stop treating it as a cleaning job. A failing fan or pump is a replacement job, and it is better done now than during a deadline or a raid night.
The repaste question
Do not repaste just because the PC is a few years old. If temperatures are fine after cleaning and the cooler is mounted properly, leave it alone. Thermal paste is not a service item you change on a calendar. It is worth considering only when you have ruled out dust and airflow, the cooler is seated correctly, and temperatures are still clearly worse than they should be. On a desktop CPU, a fresh application of a decent paste can help. On a graphics card, repasting is more involved and can affect warranty, so think carefully before going down that route.
A five-minute test before you close it up
Once everything is dry and back together, start the PC and watch the fans for a minute. Listen for rubbing or rattling. Check idle temperatures with your usual monitoring tool, then run a moderate load for a few minutes. You are not looking for benchmark glory; you are looking for stability, sensible fan behaviour and no sudden spikes.
Make a note of the date. If you have pets or a carpeted room, a quick filter check every couple of months will save you from doing the full job again in spring. The winter heating season is long enough without your desktop breathing through a felt blanket.