Caps Before Cash: A Charity-Shop Hi-Fi Check That Starts Under the Lid
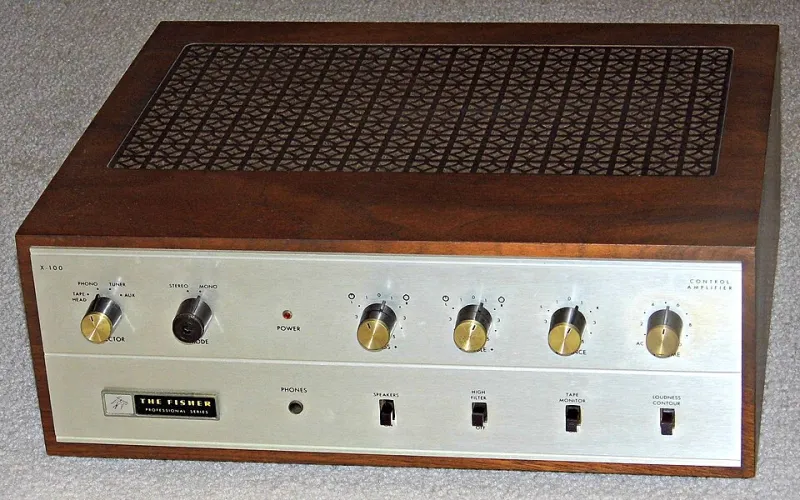
Photo: Joe Haupt from USA, CC BY-SA 2.0, via Wikimedia Commons
There is a particular kind of optimism that comes from spotting a heavy old amplifier on a charity-shop shelf. It has proper knobs, a metal case, and a price sticker that looks like a typo. You imagine it paired with a cheap turntable and some second-hand speakers, filling a room with warm, unfussy sound. Sometimes that happens. Sometimes you get it home, switch it on, and are greeted by a hum like a fridge with a grievance.
The usual suspect in gear from the 1970s, 1980s and 1990s is the electrolytic capacitor. They are the little cylinders scattered across the circuit board, and they have a finite life. Before you pay, it is worth knowing what a tired one looks like—and knowing when to leave the screwdriver alone.
Why capacitors get the blame
Electrolytic capacitors store energy and smooth out the rough edges of a power supply. Inside, a liquid electrolyte slowly dries out or escapes over decades. As that happens, the capacitor loses capacitance and its equivalent series resistance rises. The amplifier may start to hum, lose punch, crackle, or behave oddly when it warms up. In bad cases, a capacitor can vent, leak corrosive goo onto the board, or take out other components.
Not every fault is a capacitor, of course. Dirty switches, tired solder joints, worn output transistors and simple old age all play a part. But capacitors are common, relatively cheap, and visible—which makes them a useful thing to check in a shop aisle.
What a failing cap actually looks like
A healthy electrolytic capacitor usually has a flat top with a vent pattern stamped into it—often a cross, a Y, or a set of score lines. That vent is designed to split if pressure builds up. A failing one often domes upwards. The top may look like a tiny drum skin that has been pushed from below. That bulge is the clearest warning sign.
Look also at the base where the capacitor meets the board. Leakage often shows as a brown, greenish or white crusty residue. It can look like dried cola or powdery corrosion. Sometimes the plastic sleeve has split or shrunk. Occasionally you will see residue on nearby components or a discoloured patch on the board. Heat is the enemy here, so pay attention to capacitors near heat sinks, power resistors and voltage regulators.
One important caveat: a capacitor can be perfectly flat on top and still be past its best. The visual check catches the dramatic failures, not every marginal one. That is why the listening test and the price still matter.
The shop-floor inspection
You do not need a bench full of test gear to do a useful check. A small torch and a phone camera with a macro mode are enough. Ask staff if you can take the lid off—most charity shops will say yes if you are careful and polite. Unplug it first, obviously. Do not poke around inside, and do not touch the large capacitors near the power supply; they can hold a charge even after the mains lead is out.
Once the lid is off, look for the obvious: domed tops, crusty bases, scorch marks, a smell of fish or hot electronics. Check the big reservoir capacitors near the transformer and the smaller ones clustered around the output stage. On older British gear, look for the brand names and date codes—if the caps are original and the unit is from 1982, they have done well to last this long.
If the seller will not let you remove the lid, you can still do a basic check through ventilation slots with a torch. It is not ideal, but a visible bulge is a visible bulge.
Symptoms worth living with—and symptoms that mean walk away
A little switch crackle when you turn a knob is often just dirt. A faint hum that disappears when you touch the case may be a grounding quirk. A scratchy volume control can often be cleaned. These are not deal-breakers if the price is right.
A loud, constant mains hum is more serious. It often points to failing smoothing capacitors in the power supply, and it rarely fixes itself. Intermittent channel dropouts, a slow thump through the speakers at power-on, or a relay that clicks in and out can also suggest capacitor trouble. If the unit smells hot or has visible leakage, assume it needs work.
The tricky middle ground is gear that works but sounds tired. Maybe the bass is soft, or one channel is quieter. That could be capacitors, or it could be something else. Price it as a project, not as a proven runner.
When a recap makes sense
A recap—replacing some or all of the electrolytic capacitors—is sensible when the unit is worth more to you than the cost of the work. Simple analogue amplifiers with accessible boards are the best candidates. A competent repair shop might charge somewhere in the region of £60 to £150 for a basic recap, depending on the unit and how deep they go. That can be good value on a solid £200 amplifier. It is rarely good value on a £20 radio unless the radio matters to you.
Recap kits exist for popular models, which helps. But do not assume every old capacitor must be replaced. A targeted repair of the power supply and any visibly failing parts is often enough. A blanket recap of a complex receiver can cost more than the thing is worth.
Where DIY stops
This is the important bit. Checking for bulges with a torch is safe. Replacing a capacitor in a low-voltage section is a job for someone who can solder and knows how to discharge capacitors safely. Working inside a switch-mode power supply, a mains filter section, or anything with a large stored charge is not a beginner's game. Mains voltage in the UK is 230V nominal, and the smoothing capacitors in a power supply can hold a nasty charge long after the plug is out.
If the fault is in the mains section, or you are not confident, stop. A PAT test and a repair quote are cheaper than a trip to A&E. Charity-shop hi-fi is supposed to be fun.
A quick checklist before you pay
Take the lid off if you can. Look for domed tops, crusty bases and heat damage. Ask whether it has been tested—and be sceptical if it has only been powered on for ten seconds. Listen for hum, crackle and channel imbalance. Check that the mains lead and plug are sound, and that the fuse is the right rating. Price in the cost of a recap if you see trouble. And if the seller wants real money for a humming amp with bulging caps, walk away.
A good second-hand amplifier can last for decades with a little care. The trick is not to fall for a heavy case and a nice knob before you have looked inside. Caps before cash—it is a boring rule, but it saves a lot of heartache.